Gothic Christmas

This tutorial requires basic knowledge of PSP and Animation shop.
This tutorial was written with PSP X2
Written by Willow December 15th 2009
This tutorial is based on a design of my own concept and
any similarities are purely coincidental.
Any supplies that are supplied from me have been made by me and may not
be used in other tutorials or offered for download any where else.
Please do NOT link to my tutorial examples, screen shots, files or graphics.
Thank you!
SUPPLIES
Tube Art Copyright Ismael Rac, you can purchase it at AMI
Scrap Kit by Black Cat Scraps, called Gothic Christmas, you can purchase it at AMI
Ok, let's get started.
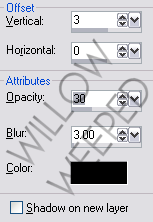
Drop shadow used on this tag is 1-3-40-3 BLACK
Scrap kit elements used,
GC_element_bcc (42)
GC_element_bcc (41)
GC_element_bcc (45)
GC_element_bcc (31)
GC_element_bcc (21)
Create a new image 700x700
Flood fill white
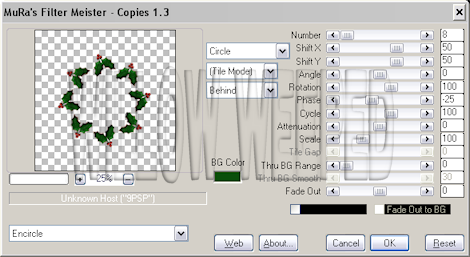
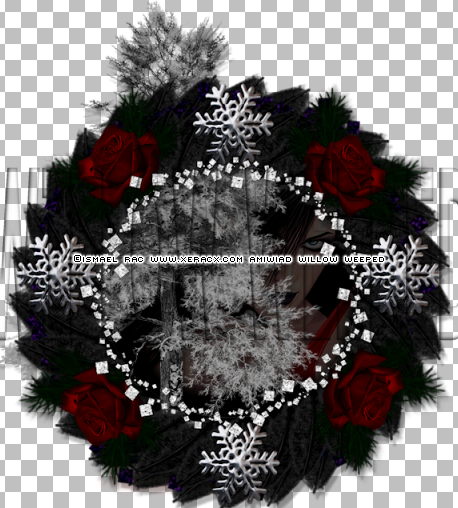
Open GC_element_bcc (31)
Paste it as a new layer in your image
Resize element by 80%
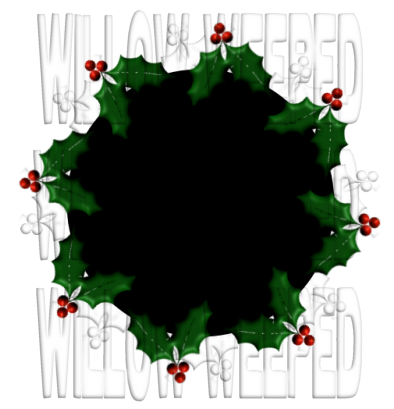
Take your ellipse tool, set to circle
Foreground null, background black
Create a circle a bit larger then the inside of the wreathe
Right click circle layer, convert to raster
Move circle layer under wreathe layer
Take your tube of choice (preferrably a close up)
Paste as a new layer, above the circle layer
Erase any part of the tube that you see outside of the wreathe
Lower opacity of your tube layer to 50%
Open GC_element_bcc (21)
Paste it as a new layer in your image
Move element above the circle layer but under the wreathe layer
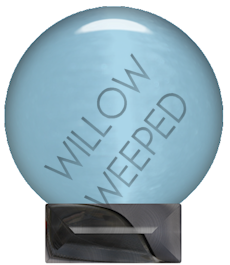
See below screen shot for placement
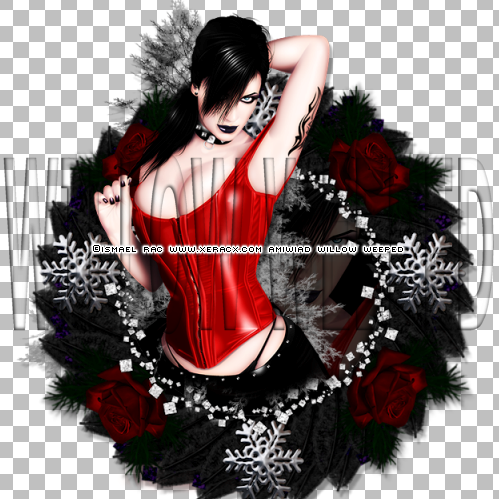
Take your tube of choice
Paste as a new layer, above all layers
Erase any part of the tube that comes over the bottom of the wreathe, like she is
coming out of it
See below screen shot
Open GC_element_bcc (16)
Paste it as a new layer, above all layers
Place at the bottom of your tube
See below screen shot
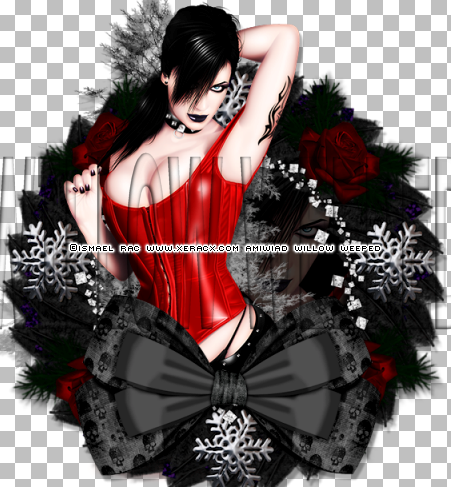
Next take the two snowflake elements,
re-size them to your liking
paste them as a new layer and place where you would like
Then add whatever text to the image
Add your name
Add all proper copyright
Hide the white background
Save as a .PNG
Thank you for trying my tut, I hope you enjoyed!
Happy Tagging!


Read Users' Comments (0)